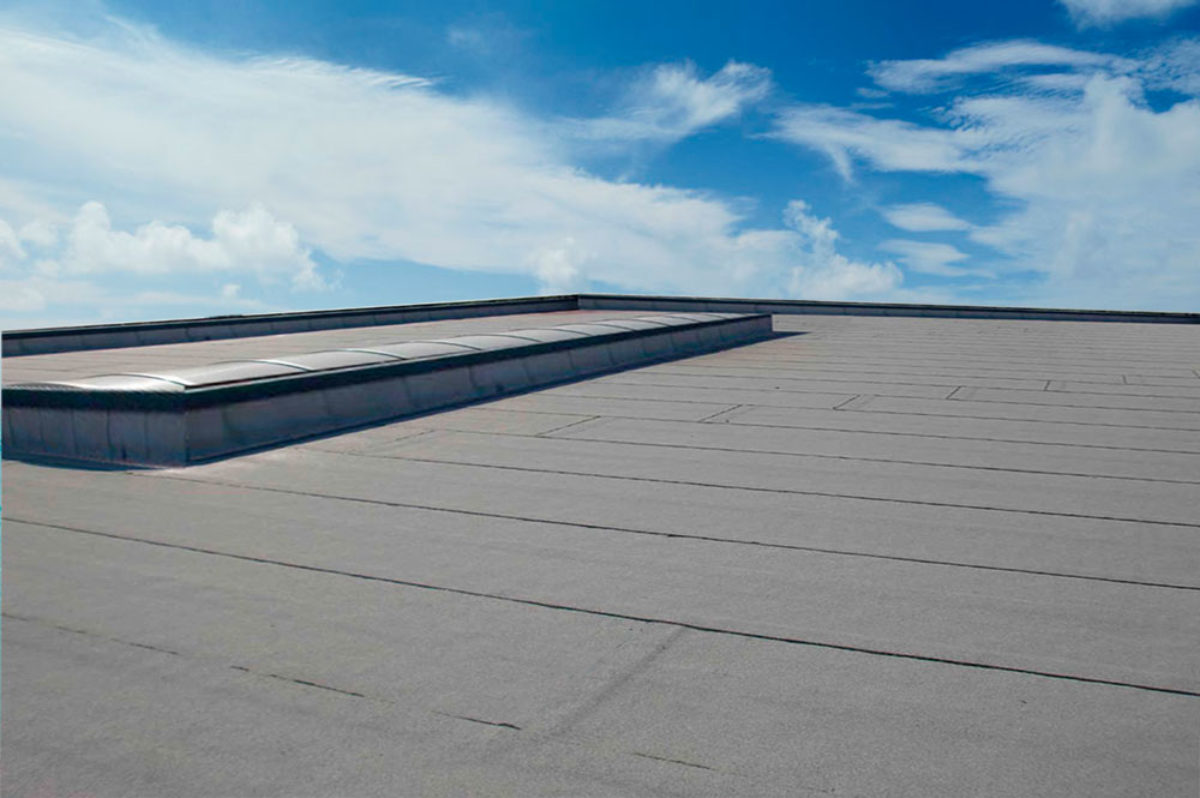
Installing rolled roofing is a very low-cost project. Rolled roofing looks similar to shingle roofs but these are less in thickness than shingles roofs. If you are planning for a roofing installation and running low on budget, then installing a rolled roof will give your house a new and attractive look. It will also enhance your house's appearance and increase the potential value of your home. In this content we have added a comprehensive roll roofing installation guide.
A Comprehensive Roll Roofing Installation Guide
Rolled Roofing
These are named as ‘rolled’ as they are present in the shape of small roles and can be easily placed on your roof. These look similar to asphalt shingle roofing because these are a mixture of different asphalts which are used in the manufacturing of shingle roof material. A shingle roof needs a lot of space to be placed on top of your roof, but these rolled roofs do not require more space as they are less in thickness and can be placed over each roll.
A wood sheeting that has been recently painted with a primer coat is best for installing rolled roofing. But before installing rolled roofing you must make sure that every space or gap in your home roof must be filled. By filling these gaps in the roof will avoid moisture and condensation below rolled roofing. The material for the rolled roofing depends on your budget plan.
The most common material which is widely used in this roof installation includes a thin sheet of asphalt, fiberglass insulation, and asphalt coated fiberglass. In case you need a rolled roofing installation, you must get in contact with the best roofing installation company in your town.
Advantages And Disadvantages of Rolled Roofing Installation
Installing a rolled roofing is more advantageous in some of the cases such that:
• These are less expensive than asphalt shingle roofing installation.
• These are easier to be installed than asphalt shingle roofing.
• You can easily manage to move your rolled roof from one place to another by DIY or by getting the help of a friend.
As rolled roofing installation has many advantages, but on the other hand there are some drawbacks of it:
• These roofs are always available in black color, so you cannot have any extra color option for your rolled roofing installation.
• As compared to asphalt shingle roofing this rolled roofing is less durable.
Tools And Material Needed for Rolled Roofing Installation
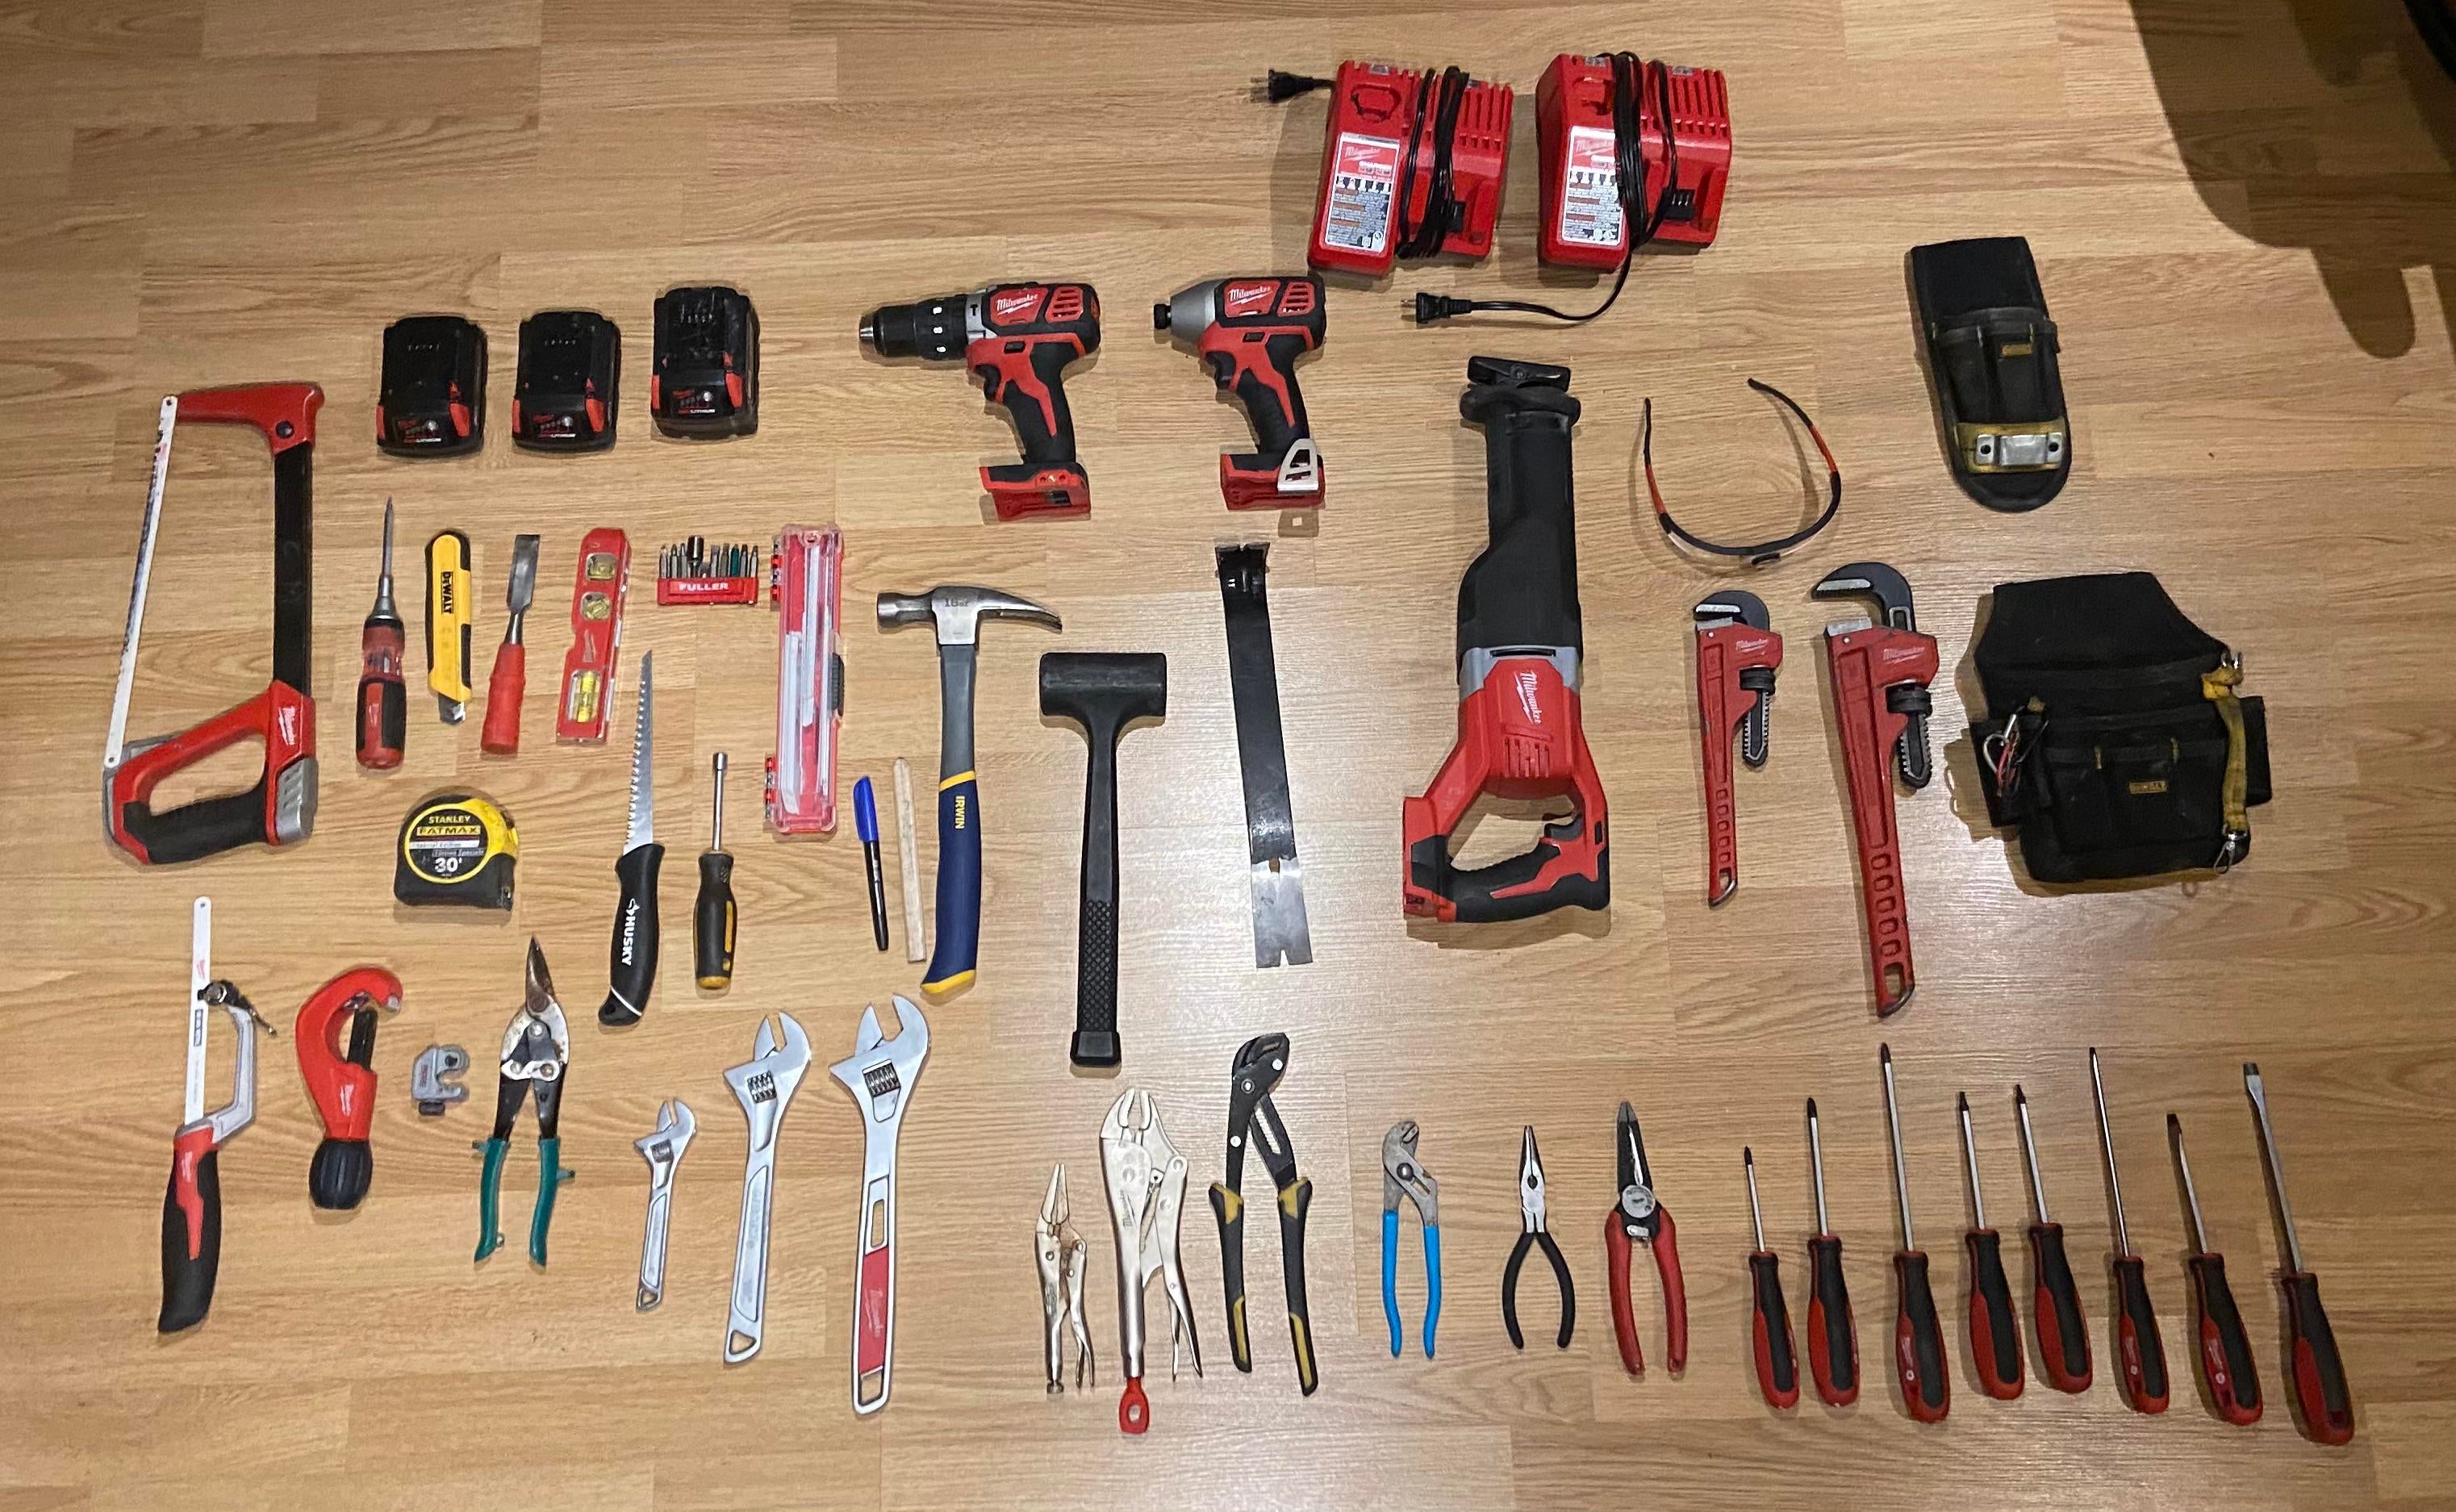
Installing rolled roofing cannot be done by DIY. Hiring services of professional roofing installers are the best solution for your rolled roofing works. These professionals are highly trained and use all the latest tools and equipment to complete your roofing installation in a specified time. The tools which are required in this process include a ladder, nail hammer, measure tape, a saw knife, a broom, and chalk to make boundaries.
The most important part of rolled roofing installation includes material that will be used to complete the roofing project. The type of material that is required for installing rolled roofing includes pieces of the rolled roof, boxes of nails, cement for the roof, and a bucket of the primer coat.
How to Install Rolled Roofing?
Rolled roofing installation is not a DIY job. Outsourcing the best roofers in your town will make it easy for you to give your home roof a new shape. These roofers perform all precautionary measures to protect other belongings of your home before starting roofing installation work. Here is a roll roofing installation guide along with a step-by-step guide:
1. Making A Boundary Line with Chalk
The first step of rolled roofing installation includes making a boundary line of the roof with the help of chalk. By creating a boundary line will make it easy for a professional roofer to calculate the area size required for rolled roofing installation.
2. Placing Cement on The Roof
After calculating the perfect area size, the next step is placing cement on the roof before installing rolled roofing. A complete coat of cement will make it easy for rolled roofing to settle on your home roof.
3. Cutting Extra Pieces of Rolled Roofing
With the help of a saw or utility knife, the extra material of rolled roofing that goes out of the roof boundary is cut out.
4. Using Hammer Nail and Nails
After placing the first layer of rolled roofing on the cement surface and carefully removing curves from it, the next step is to put nails on the rolled roofing with the help of a hammered nail by maintaining a proper distance between them.
5. Repeat Steps 2 To 4
The second and third layers of rolled roofing installation can be placed effectively on the roof by repeating steps 2 to 4.
6. Making Final Trims and Cleaning of Roof
After placing your complete roof, the final step includes trimming the surfaces of nails which are covered with cement and getting your roof cleaned after installing rolled roofing.
Conclusion
Planning for a new roofing installation and running low on a budget, then installing rolled roofing is the best answer to your problem. Rolled roofing installation is cheaper than shingle and tile roofing installation.
This roofing comes in rolled shape which makes it easy for professional roofers to get them placed on your home roof.
Professional roofers are well trained and take all necessary precautions during roof installation work. They complete the roofing installation very efficiently and in a specified time.


Leave a comment